Figuring out name badges might feel like an inconsequential cherry on top of your event ice cream sundae, but they’re actually pretty important. Attendee badges have the capability to facilitate networking, purchasing, and registration, and even track event attendance, making them a critical tool for event planners, exhibitors, and attendees alike.
There are endless options when it comes to building the perfect event badge: Paper, plastic, or synthetic? Color or monochrome? Rounded or square? Glossy or matte? Double-sided or single-sided? Small, medium, or large sizes? Single or double slot? Let’s break it all down.
Understanding Badge Technology
- Barcodes allow tracking of attendees through a mobile app or scanning device– and some scanning devices will only detect barcodes (over QR codes). As you scan badges to track session attendance, barcodes will register a unique attendee ID. The downside? Attendees and exhibitors may not be able to scan barcodes themselves with their phones.
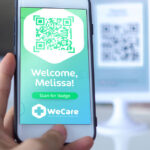
- QR Codes are similar to barcodes, but they link back to an attendee-specific URL that can include information like name, title, location, contact info, and social media handles. They are very useful for lead retrieval, and most phones now have the capability to scan QR codes. This makes the QR code great for networking amongst attendees and exhibitors. Pro tip: remember to keep your QR codes about 1” square for optimal readability.
- NFC (near-field communication) tags allow data to be exchanged by holding a badge close to another device (like a “tap to pay” credit card). The microchips in these badges hold 30 times more information than QR code badges, enabling your event to go cashless. Attendees will need to pre-load their account with money, credit, or tokens prior to the event, and then can simply tap to pay for food, SWAG, or event access.
Designing Your Badge
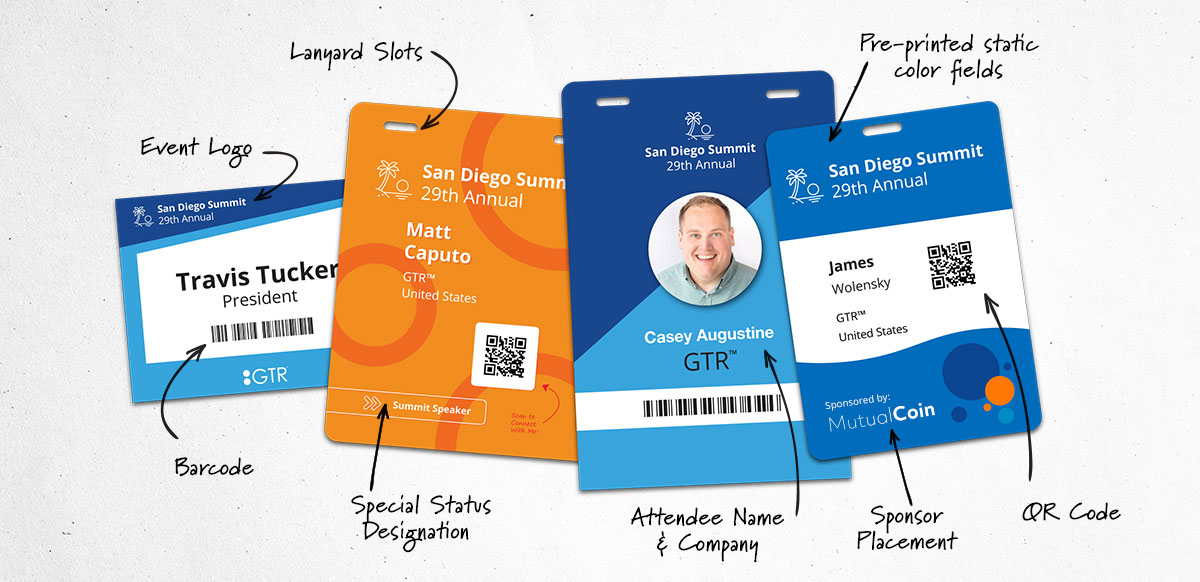
A good event badge might go home with an attendee and hang on a desk for the next year. Design these powerful momentos taking into consideration the following elements:
- Material: Your most economical option, a paper badge, will work well when it doesn’t need to withstand days of use. Pop it in a plastic sleeve with a custom lanyard as a finishing touch. You can also tap into technology with a printed barcode, QR code, or NFC sticker. Plastic and vinyl badges are more expensive but will be more durable for multi-day events. Additionally, plastic and vinyl can have technology embedded directly into the badges, creating a more seamless option.
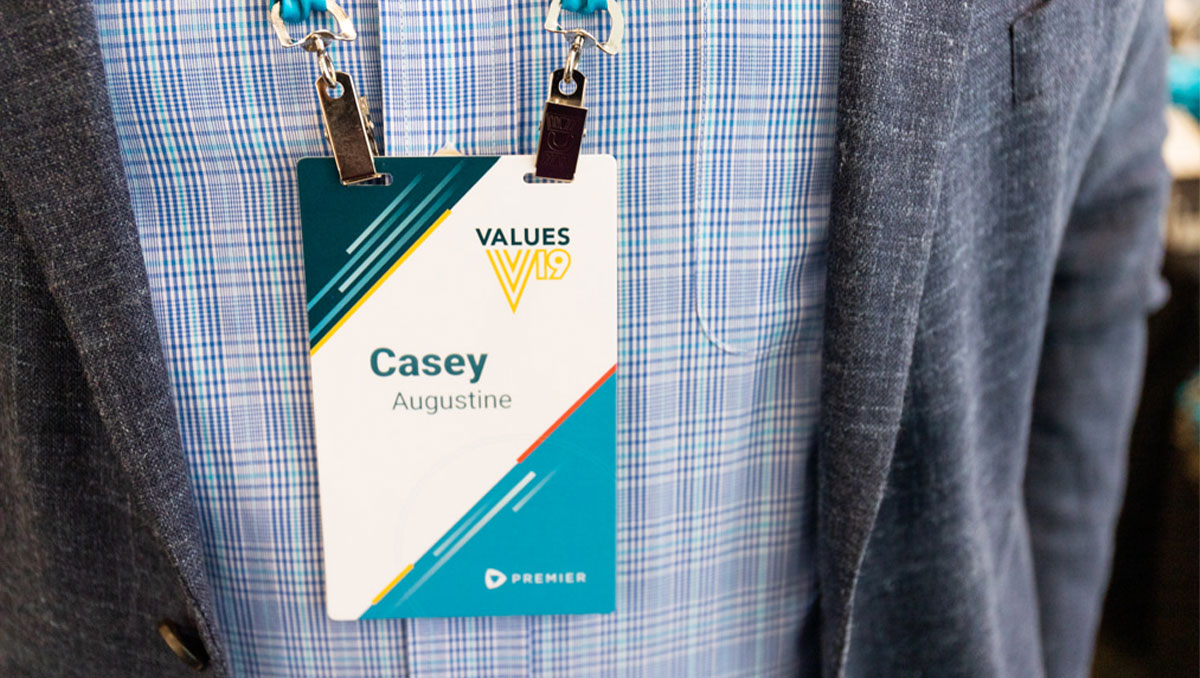
- Size & Shape: The most commonly used badge sizes are 4×3 and 4×6 inches. Remember, in most cases the most important aspect of an attendee badge is the attendee’s name so allow for space and readability.
- Color: Tap into your branding and commit to colors that will help bring your event brand to life. You can also color-code badges to differentiate between attendees, sponsors, exhibitors, and presenters. But remember, on-site printing of large fields of color will slow up the print process. Consider pre-printing static content (like event logos or large blocks of color) before your event. Flexible content, like names or titles, can be printed on-site.
- Accessories: Don’t forget the lanyard! As you design your badge, be sure to account for lanyard slots – these play a role with the printers, as the sensor uses the slot to tell itself when the next badge is coming up.
- Sponsorships: Adding a sponsor logo to a badge could be a coveted placement but remember not to let your sponsor logo overshadow your event branding.
